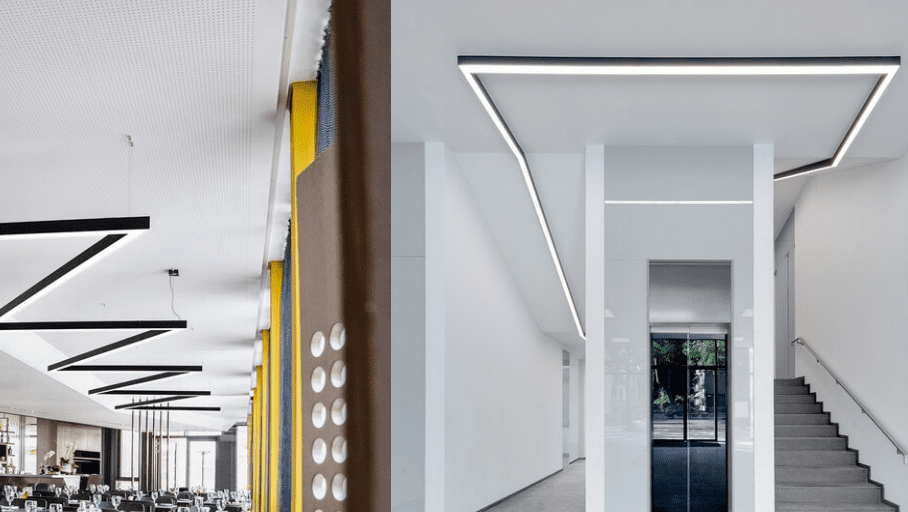
Commercial LED Linear Light Installation: Complete Guide for Contractors – 3 Mounting Methods & Common Mistakes

You've taken on a commercial linear lighting project — the drawings are ready, the fixtures have arrived, and you've done the site walkthrough. But when it comes time to actually install, questions start stacking up:
-
The ceiling is 4.5 meters high — suspended or surface mounted?
-
How big should the cutout be for a gypsum ceiling? Can it be fixed if it's wrong?
-
When splicing a continuous run, how do you handle the joints to avoid dark spots?
-
If the circuit planning fails, who bears the cost of rework?
Without clear answers, even the best fixtures may not deliver the desired results — and may even create safety hazards.
This guide is designed specifically for electricians, contractors, and project managers. From preparation to three mainstream mounting methods, from continuous splicing to safety standards — this article covers the complete installation process for commercial LED linear lights.
1. Pre-Installation Preparation: The "Hidden Process" That Determines Success
Many installation failures and rework can be traced back to inadequate preparation. The following four steps must be completed before any physical work begins.
1. Circuit Planning and Load Calculation
Linear lighting systems require stable power supply. Before installation, confirm:
-
Whether the on-site supply voltage matches the fixture rating — Lumin linear lights support both standard constant current and non-standard constant voltage configurations
-
Whether the total power falls within the circuit's capacity
-
Whether zone control is needed
For continuous splicing projects, calculate the total power and cable length in advance. Every circuit has limits on both load and length — exceeding these limits causes voltage drop, resulting in insufficient brightness or failure to illuminate at the far end.
2. Ceiling Inspection and Measurement
Confirm the ceiling type and structure before installation:
-
Gypsum board ceiling: Locate joist positions and spacing; avoid main joists
-
Suspended ceiling (T-grid) : Confirm grid direction; the long side of the fixture must align with the grid
-
Concrete slab: Check for embedded conduits in drilling areas
Key measurements:
-
Distance from the first fixture to the wall: recommended 18 inches (45cm) to avoid wall shadows
-
Fixture spacing: typically 4-6 feet (1.2-1.8 meters) , based on space and illuminance requirements
-
Distance from power source to each fixture: no more than 6 feet (1.8 meters) to prevent voltage drop
3. Tool Checklist
| Tool | Purpose |
|---|---|
| Drill, hammer drill | Drilling holes, mounting brackets |
| Level / laser level | Ensuring fixtures are horizontally aligned |
| Tape measure, pencil | Measuring and marking positions |
| Utility knife, reciprocating saw | Cutting gypsum board openings |
| Wire strippers, screwdrivers | Wiring and securing connections |
| Non-contact voltage tester | Verifying power is off before work |
| Ladder / scaffolding | Overhead work access |
4. Safety First
The following safety steps must be performed before installation:
-
Turn off the main power and verify with a voltage tester that circuits are de-energized
-
Ensure fixture grounding conductors are correctly connected
-
Use approved ladders or scaffolding for overhead work
-
At least two people are recommended for installation, especially for larger fixtures
2. Three Main Mounting Methods Explained
Commercial LED linear lights are installed using three main methods. The choice depends on ceiling type, ceiling height, and project requirements.
Method 1: Suspended / Pendant Mounting
Best for: High ceilings (4m+), open-plan offices, retail spaces, showrooms
Lumin linear lights support both catenary (suspended) and ceiling (surface) mounting options.
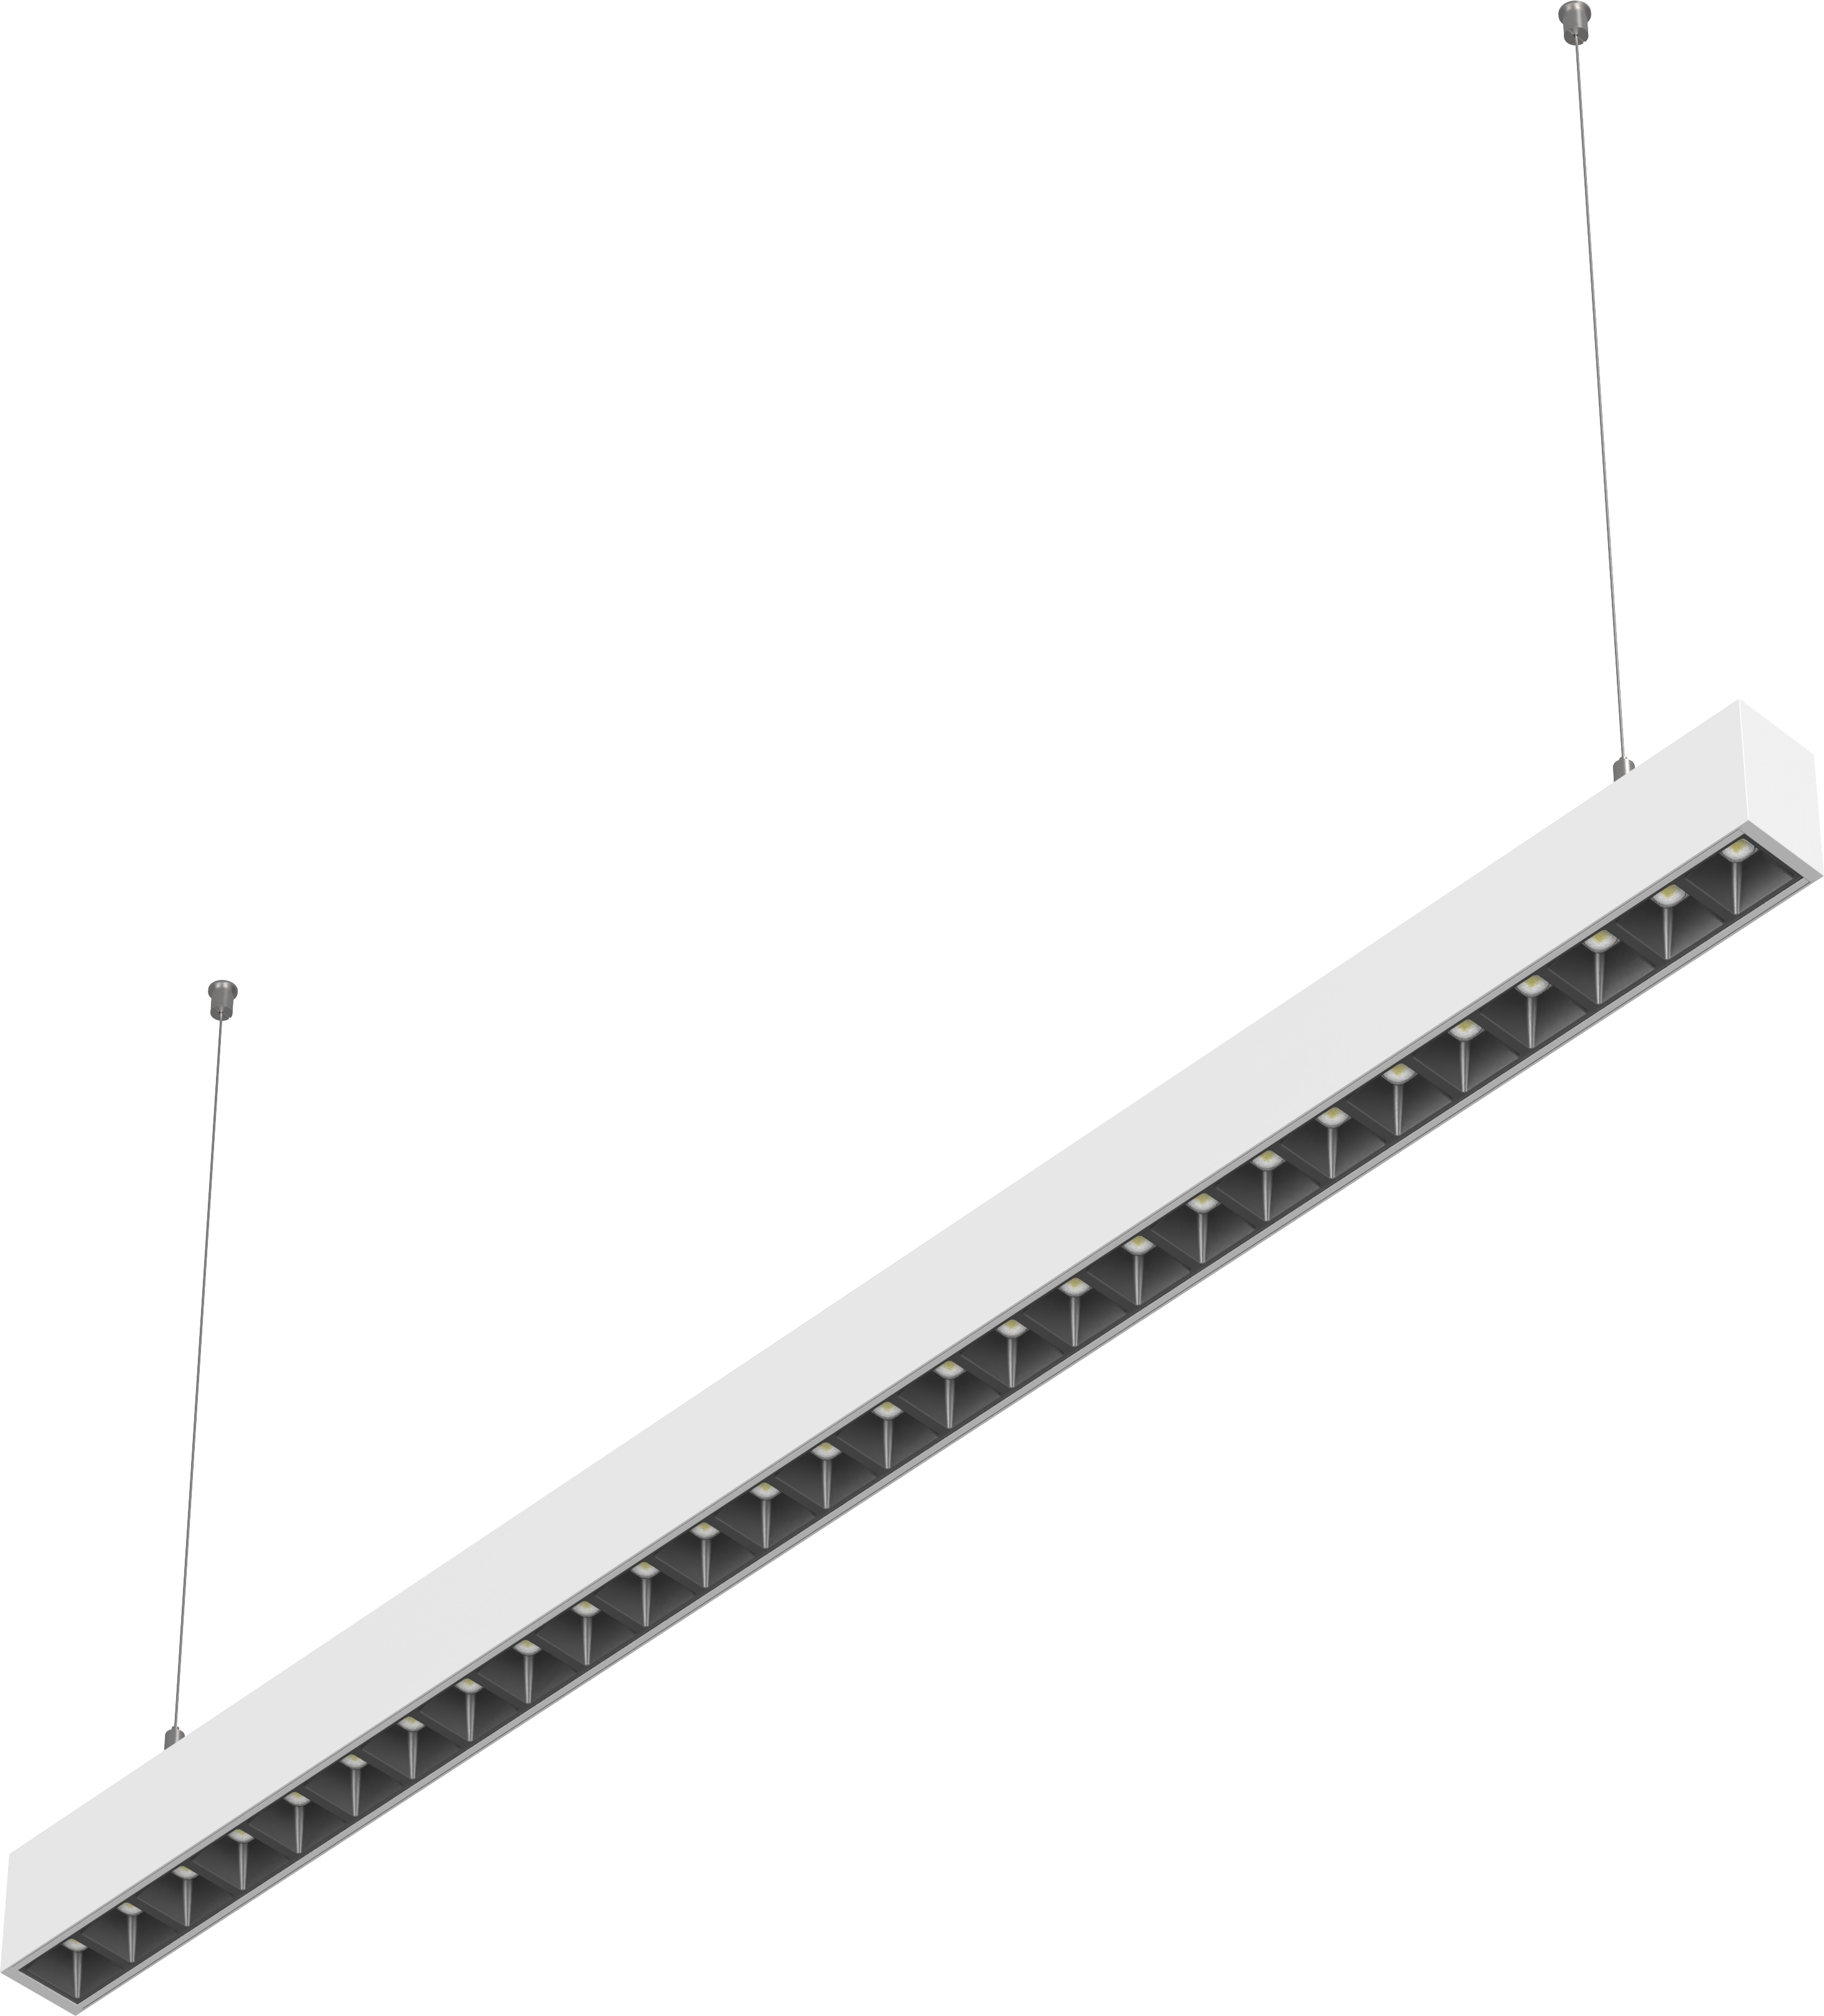
Installation Steps:
-
Mark suspension points: Determine the number and distribution of suspension points based on fixture length
-
Install ceiling anchors: Drill holes in the ceiling and secure anchor bases
-
Attach suspension cables/rods: Secure cables or rods to the anchors
-
Hang the fixture: Attach the fixture to the suspension cables/rods
-
Level the fixture: Adjust cable lengths to ensure the fixture is horizontal
-
Wire the connection: Connect power cables with proper insulation
-
Power on and test
Key Considerations:
-
Suspension point spacing typically no more than 3 meters
-
Use aircraft cables or threaded rods
-
Large fixtures: safety cables are strongly recommended as secondary protection
Advantages: No ceiling space, creates a suspended visual effect, ideal for tall spaces
Method 2: Recessed Mounting
Best for: Gypsum board ceilings, standard T-grid ceilings
Lumin linear lights support recessed installation for various ceiling types. The housing is made of high-quality aluminum alloy with electrostatic spray coating for durability and scratch resistance.
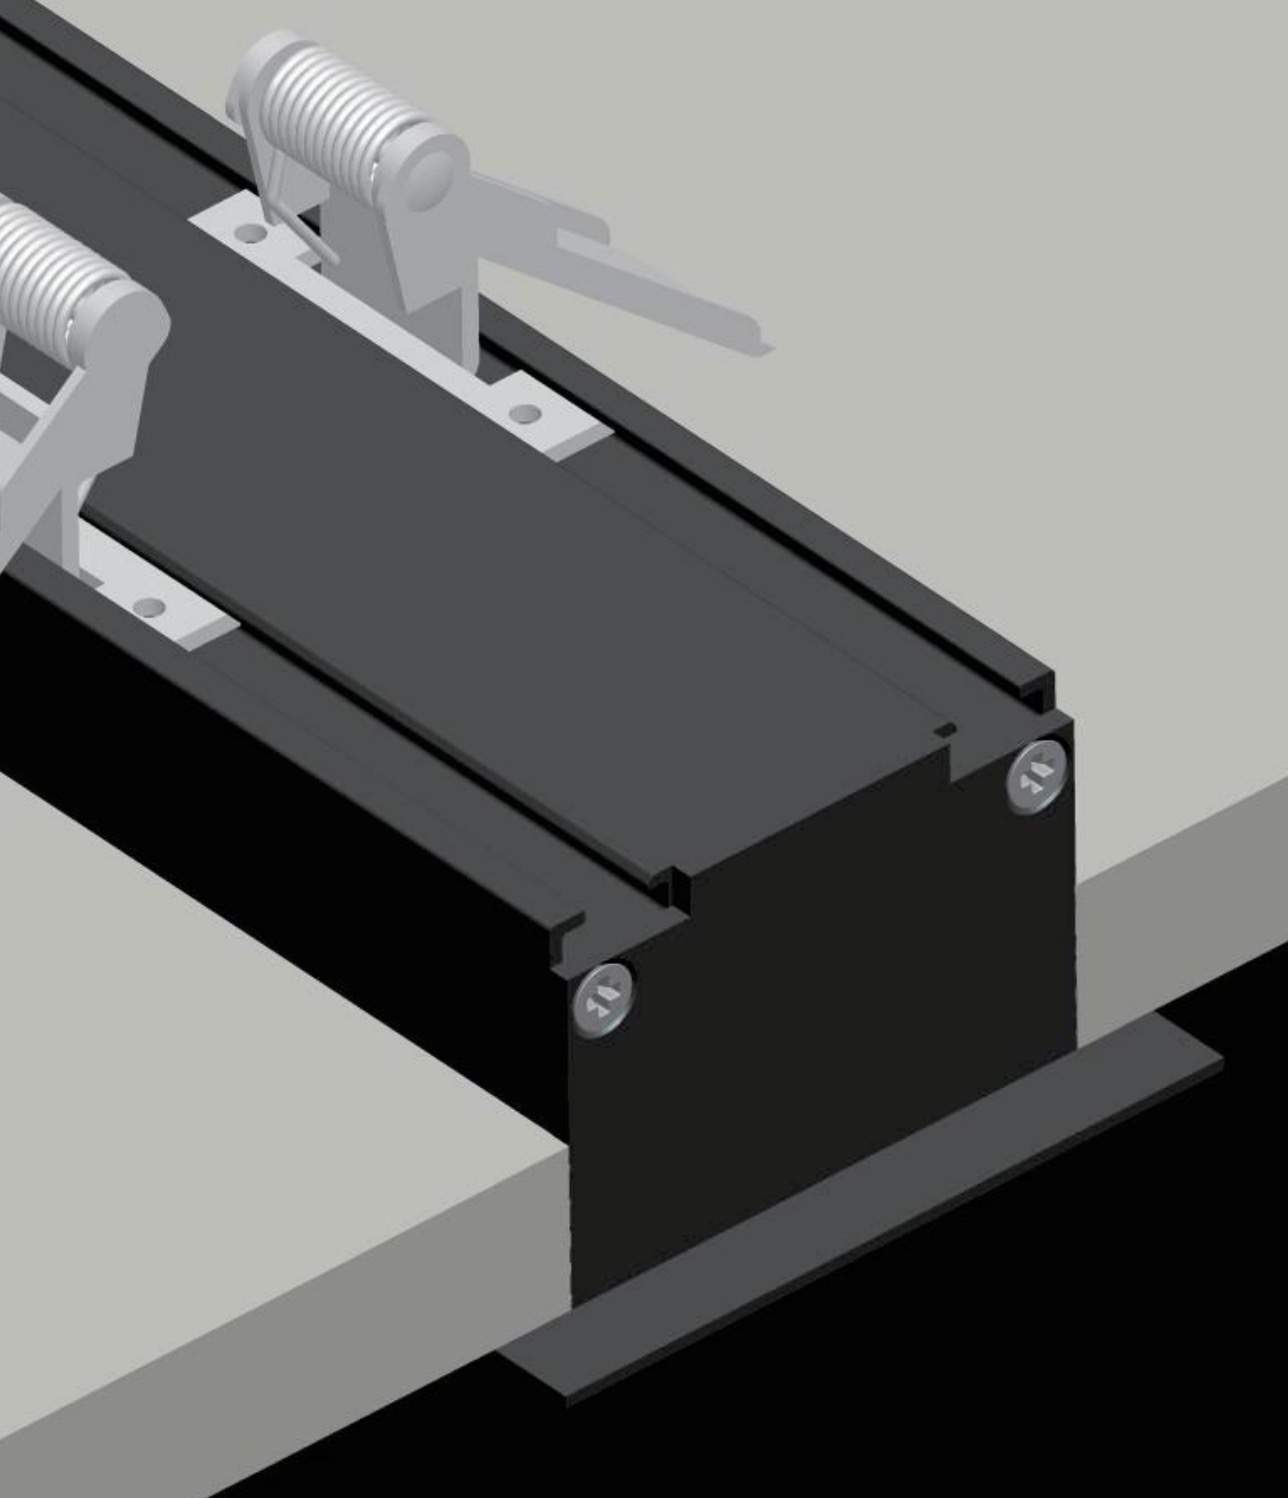
Installation Steps:
-
Confirm cutout location: Avoid joists, conduits, and pipes
-
Mark the cutout outline: Use a pencil to trace the cutout pattern on the ceiling
-
Cut the opening: Score the gypsum board surface with a utility knife, then cut with a reciprocating saw
-
Key technique: Make the cutout 1/8 inch (3mm) smaller than the fixture housing for a snug fit
-
-
Install the fixture: Push the fixture into the opening and secure with spring clips or screws
-
Wire the connection: Connect power cables
-
Install the trim/diffuser: Cover the fixture flush with the ceiling
-
Power on and test
Key Considerations:
-
Cutout dimensions must be precise — too large and the fixture won't stay in place; too small and it won't fit
-
Cutouts should be planned during the ceiling construction phase for gypsum board
-
At least 20cm (8 inches) of clearance above the ceiling is required
-
Clean dust immediately after cutting to prevent contamination of LED components
Advantages: Flush with the ceiling, cleanest visual appearance, no additional space required
Method 3: Surface Mounting
Best for: Spaces without dropped ceilings (concrete slabs), low-ceiling spaces (under 12 feet), retrofit projects
Lumin linear lights support surface (open) installation for exposed ceilings and retrofit applications.
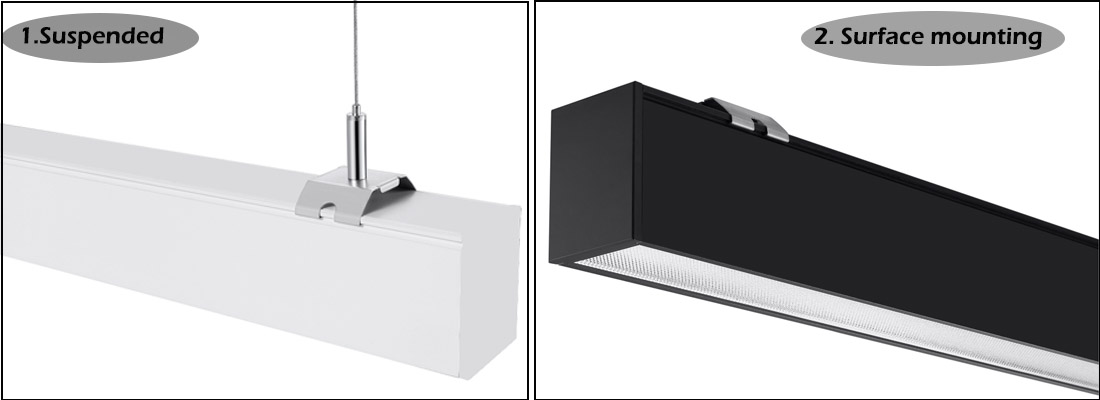
Installation Steps:
-
Mark mounting points: Determine the number and spacing of mounting clips based on fixture length
-
Drill holes: Drill into the ceiling at marked points
-
Secure mounting clips: Attach clips to the ceiling with screws
-
Snap the fixture in: Clip the fixture into the mounting clips
-
Wire the connection: Connect power cables
-
Power on and test
Key Considerations:
-
Spacing of mounting clips should be evenly distributed along the fixture length
-
The mounting surface must be clean and level
-
For concrete slabs, use expansion bolts
Advantages: No ceiling modification required, fastest installation, ideal for retrofit projects
3. Continuous Splicing Installation Key Points
Continuous linear lighting systems are common in large commercial projects — multiple fixtures connected end-to-end to form a visually uninterrupted continuous light band.
Lumin linear lights support both internal splicing and external splicing methods, allowing flexible selection based on project requirements.
Key Decisions Before Splicing:
| Decision Point | Recommendation |
|---|---|
| Fixture length | Lumin linear lights come in standard lengths of 600mm, 1000mm, 1200mm, and 2400mm, with custom lengths available upon request — 8-foot fixtures reduce mounting points and splices by 50% compared to 4-foot fixtures |
| Number of fixtures | Determined by space length; end caps required at both ends |
| Power feed points | At least one power feed point per continuous run |
| Connection method | Lumin linear lights support both internal and external splicing |
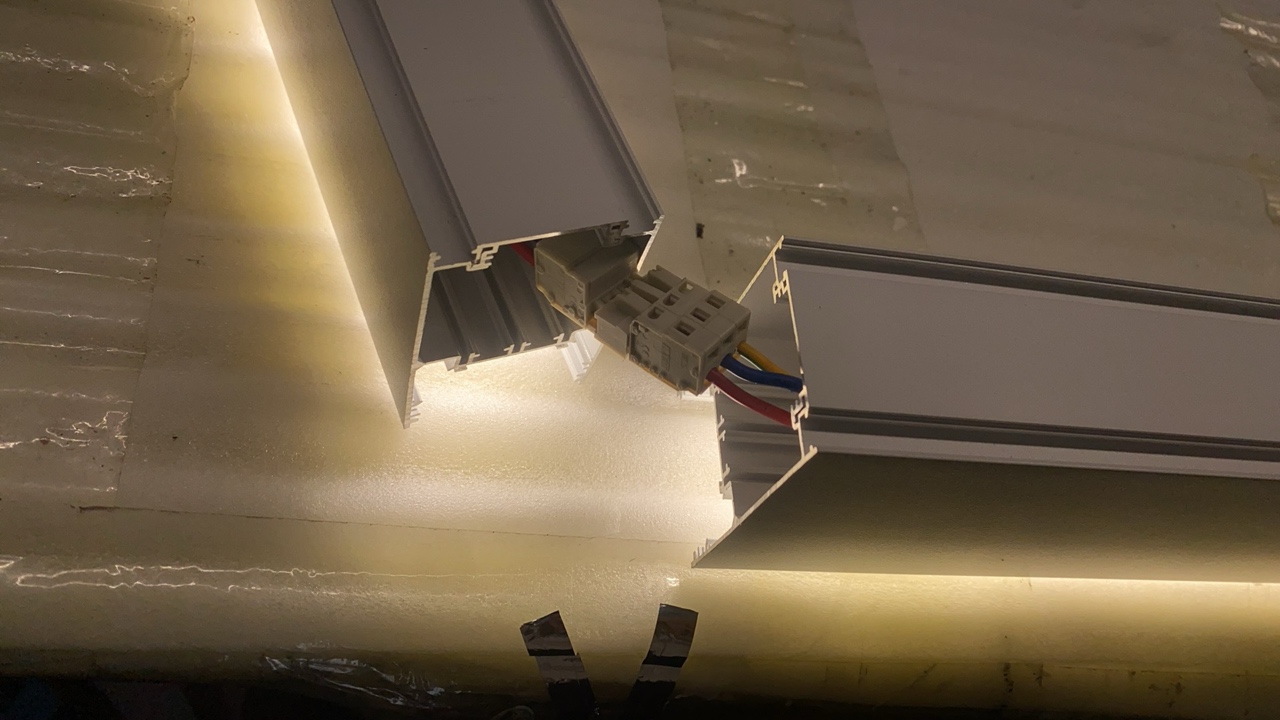
Splicing Steps:
-
Align the fixtures: Bring the ends of two fixtures together and connect using a connecting bridge or dedicated connector
-
Secure the connection: Tighten connector screws or clips
-
Check flatness: Ensure no height difference or gap at the splice point
-
Complete electrical connection: Internal wiring through the connector completes the circuit
-
Install end caps: Attach end caps at both ends of the continuous run
Common Issues and Solutions:
-
Dark spots at splices: Connectors not aligned or fixture spacing too wide → realign and tighten
-
Uneven spliced sections: Leveling not used during installation → a laser level is essential for alignment
-
"Wavy" long runs: Use 8-foot fixtures instead of 4-foot to reduce connection points and maintain straightness
4. Safety Standards and Common Mistakes to Avoid
Safety Standards (Must Follow):
-
Power off before work: Always turn off power before installation and maintenance
-
Grounding: Fixtures must be connected to a grounding conductor system
-
Voltage verification: Confirm supply voltage is within fixture rating
-
Licensed electrician: Installation must be performed by a licensed electrician
-
Two-person operation: Large fixtures require at least two people for safe installation
-
Local codes: Installation must comply with local building and electrical codes
Common Mistakes and How to Avoid Them:
| Mistake | Consequence | Solution |
|---|---|---|
| Inaccurate cutout size | Fixture won't stay in place or leaves gaps | Follow spec sheet dimensions precisely; better slightly smaller than larger |
| Not locating joists first | Cutting into joists | Use a stud finder to locate joists before marking |
| Insufficient ceiling clearance | Fixture won't fit or protrudes below ceiling | Measure clearance before installation; select appropriate fixture thickness |
| Improper wiring | Poor contact, shorts, fire hazard | Use wire connectors and properly insulate all connections |
| No safety cables | Large fixtures may fall | All large suspended fixtures must have safety cables |
| Misaligned splices | Uneven light band with dark spots | Use a laser level to ensure alignment |
| Incorrect vertical orientation | Driver overheating, performance issues | For vertical mounting, mount driver facing down |
| Uneven load on multiple brackets | Bracket failure, fixture fall | Distribute load evenly during installation; avoid single-point loading |
5. Lumin Linear Light Product Recommendations and Installation Accessories
Based on the installation methods above, here are Lumin linear light products suitable for different applications:
| Series | Dimensions (mm) | Power | Mounting Methods | Best For |
|---|---|---|---|---|
| LM-3866 | 1188×38×65 | 30W | Suspended / Surface | Offices, schools, hospitals |
| LM-4366 | 1197×43×66 | 30W | Suspended / Surface | Offices, schools, hospitals |
| LM-3030 | 1205×30×30 | 20W | Suspended / Surface | Offices, schools, hospitals |
| LM-5035 | 1205×50×35 | 30W/m | Suspended / Ceiling | Offices, schools, hospitals |
| LM-5075 | 1205×50×75 | 30W | Suspended | Offices, schools, hospitals |
| LM-6070 | 1205×60×70 | 36W | Suspended / Ceiling | Offices, schools, hospitals |
| LM-7575 | 1205×75×75 | 36W | Suspended | Offices, schools, hospitals |
| LM-7575-A | 1205×75×75 | 36W | Suspended / Ceiling | Offices, schools, hospitals, hotels |
| LM-9075/9035 | 1205×90×75/35 | 36W | Suspended / Ceiling | Offices, schools, hospitals |
| LM-15060 | 1205×150×60 | 36W | Suspended / Ceiling | Offices, schools, hospitals |
| ZG-100 Series | 1205×100×35/75/100 | — | Suspended / Ceiling | Offices, schools, hospitals |
All series offer 3000K/4000K/6000K CCT options with CRI ≥ 82. The housings are made of high-quality aluminum alloy with electrostatic spray coating for durability and resistance to discoloration and scratches. Using high-quality LED sources and high-efficiency drivers with high-reflectance lenses, these fixtures deliver shadow-free illumination with high efficacy, stable performance, long lifespan, and minimal lumen depreciation — reducing post-installation maintenance costs.
Installation Accessories:
-
Suspension accessory kits (cables, hangers, safety cables)
-
Recessed mounting accessories (spring clips, mounting brackets)
-
Surface mounting accessories (mounting clips, screws)
-
Continuous splicing connectors (straight connectors, internal/external splicing kits)
6. Summary
Commercial LED linear light installation is not complicated — choose the right method, measure accurately, and follow the standards. Get these three things right, and you're most of the way there.
| Ceiling Type | Recommended Method | Recommended Lumin Series | Key Considerations |
|---|---|---|---|
| High ceiling (4m+) | Suspended | LM-3866/4366/5075/7575 | Suspension points ≤3m; safety cables required |
| Gypsum board | Recessed | All series support | Precise cutout; ≥20cm clearance; avoid joists |
| Concrete slab (no ceiling) | Surface mounted | LM-3030/5035/5075 | Use expansion bolts; ensure flat mounting surface |
| Continuous splicing projects | Depends on ceiling type | Internal/external splicing options | Use connectors; laser level for alignment; longer fixtures preferred |
The most important advice: Commercial LED linear light installation must be performed by a licensed electrician. This is not a standard ceiling light — it involves electrical connections, load-bearing safety, and long-run splicing. Leave professional work to the professionals.
Lumin linear lights support multiple mounting methods, custom lengths (available upon request), and multiple CCT options to meet the needs of various commercial spaces. Whether your project is an office, school, hospital, supermarket, or hotel, there is a linear lighting solution to match.
Want to learn more about Lumin linear light specifications and installation requirements? Download the Lumin product catalog or contact our technical support team.
5 Commercial Spaces That Benefit Most from LED Linear Lighting: Offices, Retail, Education, Healthcare, and Hotels
LED Linear Lighting ROI Analysis: A Complete Breakdown of Energy & Maintenance Savings